 We love fresh mozzarella and it is the cheese that attracted me to cheese-making in the first place. I’ve made it ashore, but this was the first year I tried making it aboard. Our results, although delicious, were somewhat different in texture from the mozzarella I’ve made ashore. I plan to do some further experimentation to see if the texture difference is a result of using powdered milk, or perhaps from the constant motion aboard the boat.
The method outlined below is based on Ricki the Cheese Queen’s 30 Minute Mozzarella recipe in “Home Cheese Making”. She sells an excellent kit for beginners that includes everything needed to make ricotta and mozzarella.
Fresh Mozzarella
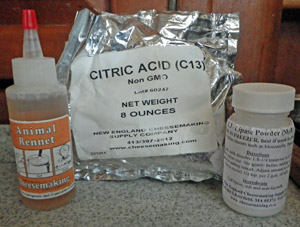
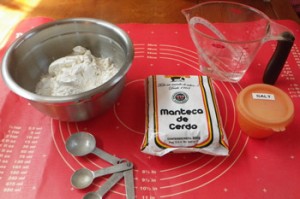
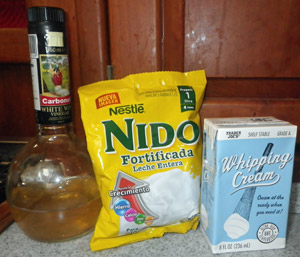
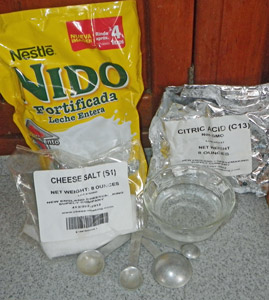
Cheesemaking ingredients needed for mozzarella making: rennet, citric acid, and lipase.
Yield: ¾ to 1 pound
Ingredients:
- 1 ½ teaspoons citric acid dissolved in ½ cup cool water
- ¼ teaspoon lipase powder dissolved in ¼ cup cool water (optional)
- ¼ teaspoon liquid rennet (or ¼ rennet tablet) dissolved in ¼ cup cool water
- 1 gallon pasteurized (NOT ultra-pasteurized) milk or a 4 liter packet of Nido powdered milk dissolved in 3600 ml of water
- 1 teaspoon cheese salt or other fine salt (optional)
Method:
- Individually mix up the three items that are dissolved in water: citric acid, lipase powder, and rennet, and allow to stand.
- Mix the citric acid and the lipase (if using) with your milk. If you are using nonfat powdered milk instead of fresh milk or Nido, add 1 pint of light cream or half and half.
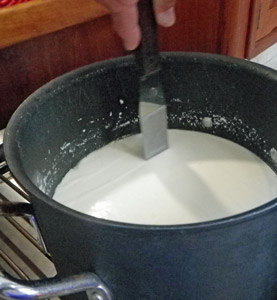
- Heat the milk to 90 degrees, stirring constantly. Remove the milk from the heat and stir in the diluted rennet with a slow up-and-down motion for about 30 seconds. Cover the pot and leave undisturbed for 5 minutes or so.
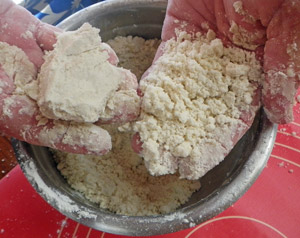
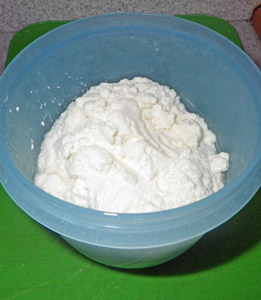
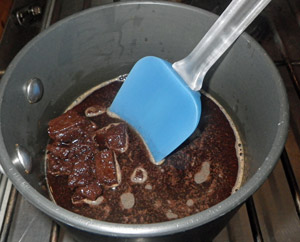
- Check the curd. It should be custard-like with clear separation between the curd and the whey. Aboard the boat, using Nido, I generally find that I need to let the milk stand longer for the curd to fully develop. Once it is set, cut the curd with a knife that reaches all the way to the bottom of the pot. Cut first in one direction, then at a 90 angle to the first cut, then finally diagonally through the curds to separate them into something cube-like.
- Put the pot of curds back on the stove and heat until the temperature reaches 105 degrees, moving the curds around gently with a spoon. If you don’t have a microwave available, heat the curds to 110 degrees in this step. Remove from the heat and continue to stir slowly for about 5 minutes.
- Scoop the curds out of the pot with a slotted spoon and put them into a microwavable bowl. Press them gently with your hands, pouring off as much whey as possible. If you don’t have a microwave, reserve the whey remaining in the pot.What you do next will depend on whether you have a microwave:
-
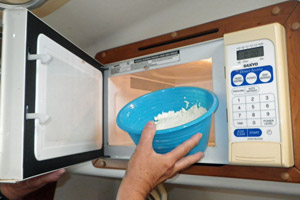
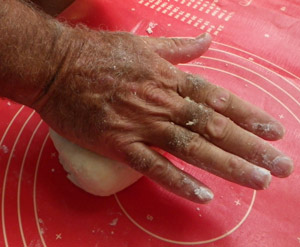
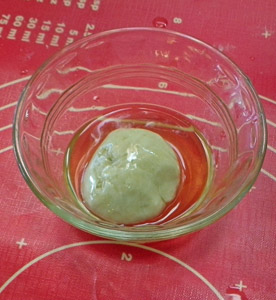
Warming the mozzarella prior to kneading.
Microwave method: Heat the curds on HIGH for 1 minute. Drain off excess whey and gently knead the cheese with your hand or a spoon. Careful: it’s hot! Repeat two more times, adding the optional salt during the second kneading. Once the cheese is sufficiently hot, knead quickly until it is smooth and elastic. The recipe calls for the cheese to be hot enough to stretch like taffy, but I wasn’t able to achieve this level on the boat with my wimpy microwave.
- Non-microwave method: Heat the reserved whey to at least 175 degrees. Add ¼ cup of cheese salt to the whey. Shape the curds into 2 or 3 balls and put them into a slotted spoon or strainer. Dip the cheese balls into the hot whey for 10 – 15 seconds at a time. Knead the curds with spoons (or your hands in heavy rubber gloves) between each dip. Repeat the process several times until the curd is smooth and elastic.
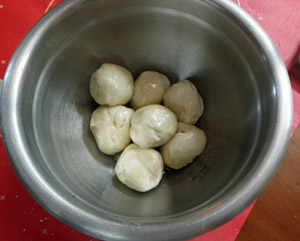
- Whichever method you use, once the cheese is smooth and shiny, form it into small balls and eat while warm. If you aren’t going to use the mozzarella immediately, cover and store in the refrigerator. If you have ice available, cooling the cheese quickly in a bowl of ice water seems to improve the texture.

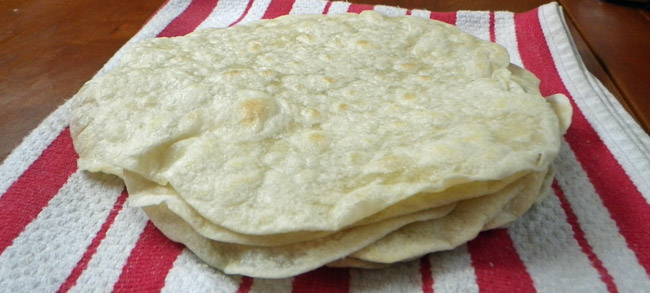
A one pound lump of mozzarella from this recipe.
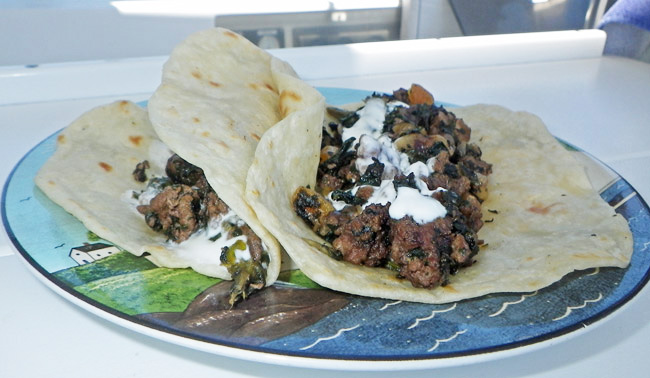
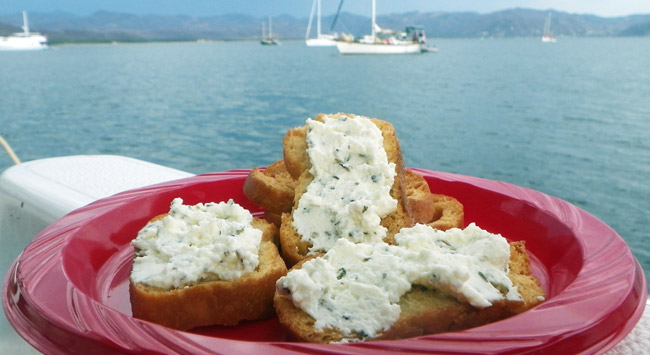
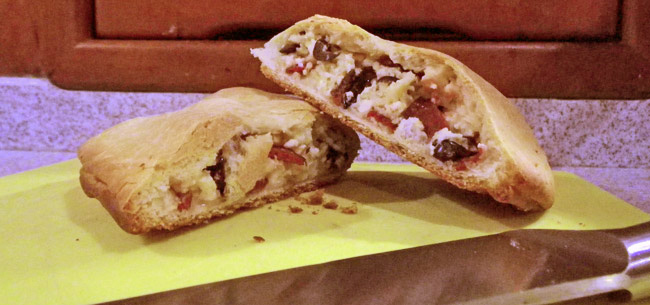
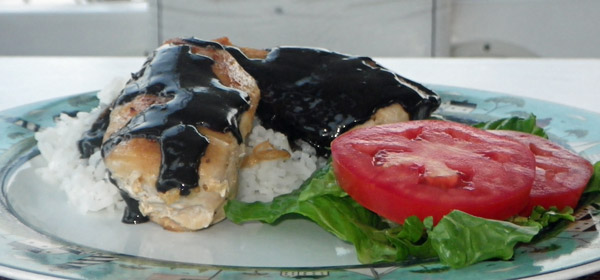
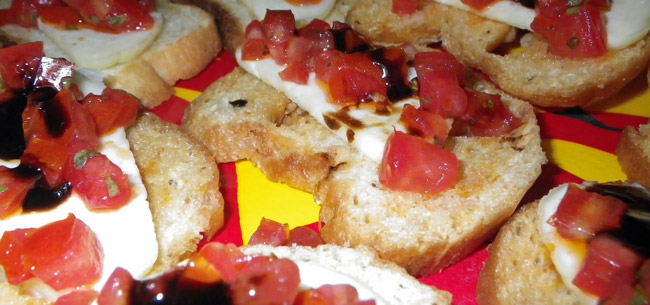
Our mozzarella had a firm texture that sliced cleanly, but was missing the velvety softness that I love in freshly-made mozzarella that I’ve purchased at farmer’s markets. Still, it was delicious, and we gladly used it for caprese salad, lasagna, calzones, and grilled pizzas. We also made delicious appetizers using a thin slice of mozzarella on a crostini, topped with a tapenade of minced fresh tomatoes, olive oil, balsamic vinegar, and basil. Yum!
Bottom line: Takes pre-planning to have the specialized ingredients aboard, but well worthwhile if you don’t have easy access to mozzarella or a good substitute.
Fair winds and following seas,
Heather, The Cruising Cook
| Mozzarella Illustrated | |
 Nido brand powdered milk is readily available in Mexico. |
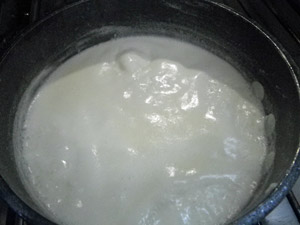
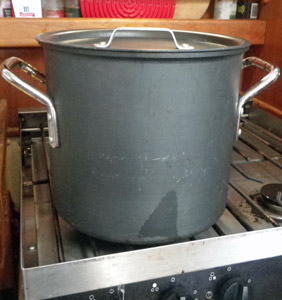
 The powdered milk is dissolved in the pot. |
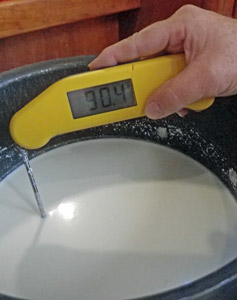 The milk mixture is warmed to 90 degrees. |
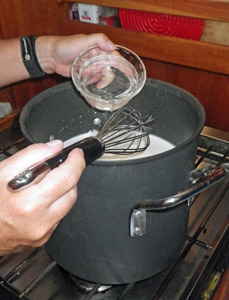 Rennet diluted in water is added to the milk. |
 The milk mixture rests until the curd forms. |
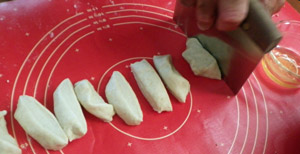
 The curd is sliced into cubes with a long knife or spatula. |
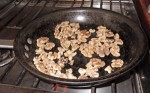
 Making mozzarella with Nido seems to result in a finer, less cohesive curd than with fresh milk. |
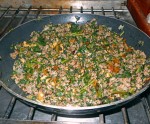
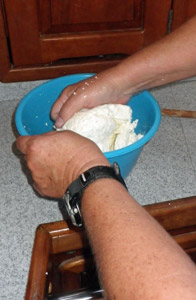 The mozzarella is kneaded to smooth the texture. |