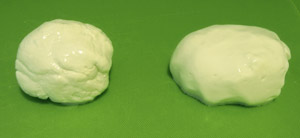
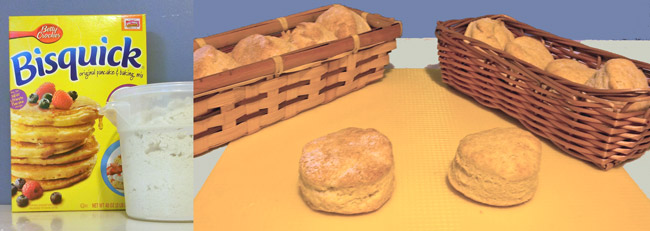
 This blog post is by request of fellow cruisers looking for something to replace Bisquick — a product that is hard to find in Mexico. Bisquick-like biscuit mix is incredibly easy to make. We did taste tests cooking biscuits and pancakes — one batch each using Bisquick and one each using the homemade mix. The results were nearly indistinguishable, although we quickly came to recognize a characteristic after-taste in the items made from Bisquick. Also, the biscuits and pancakes made with Bisquick seemed to rise just a bit higher than those made from homemade mix.
The recipe I used said that the mix (unlike Bisquick) should be refrigerated and will keep in the fridge for up to four months. At first I assumed that Bisquick must have preservatives, but the only ingredient in Bisquick that is not in the recipe below is dextrose. Then I thought that it might be a difference in the fats used. The recipe below calls for shortening. I used Crisco, which contains soybean oil, fully hydrogenated palm oil, partially hydrogenated palm and soybean oils, mono and diglycerides, and a couple of antioxidants. Yum… more than you really wanted to know, right?
The fat in Bisquick is partially hydrogenated soybean and/or cottonseed oil. It doesn’t seem to me that there should be any significant difference in shelf stability between the Bisquick and the homemade mix. However, one advantage of the homemade mix is that you can control what type of fat goes into the mix. It would be best to use some type of solid shortening, but if you use anything other than Crisco or equivalent, it’s probably a good idea to keep the mix in the fridge.
Homemade Biscuit Mix
Makes 7 cups
Ingredients:
- 6 cups all-purpose flour
- 3 tablespoons baking powder
- 1 tablespoon salt
- 1 cup vegetable shortening
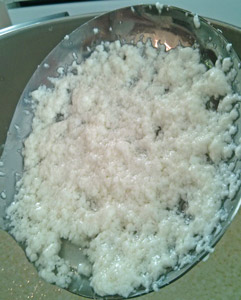
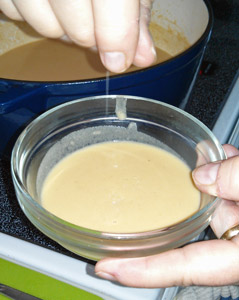
If you have access to a food processor, you can build this mix in seconds: Put the dry ingredients in a food processor and pulse several times to mix and aerate. Add shortening and pulse until the shortening is combined and the mixture resembles fine crumbs.
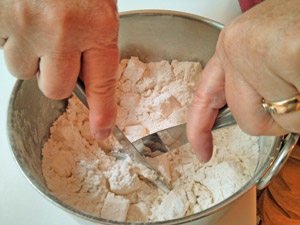
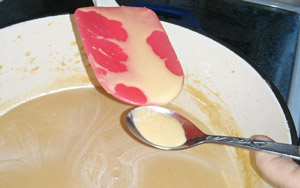
No food processor or pastry cutter? Use two knives to cut the shortening into the dry ingredients.
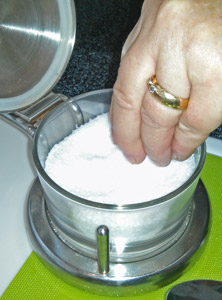
If you are aboard and don’t have a food processor, it’s still easy to make biscuit mix. Put the dry ingredients in a large bowl and mix with a whisk to aerate and “sift”. Cut the shortening into the dry ingredients with a pastry cutter until the mixture resembles fine crumbs. If you don’t have a pastry cutter, hold a table knife in each hand and cut through the ingredients with both knives until the shortening is fully combined.
Store completed mix in an airtight container, in the fridge if you wish. Use in any recipe that calls for Bisquick.
Fair winds and following seas,
Heather, The Cruising Cook